Monday, October 21, 2013

Witch Hat Cookie Tutorial!


Do you have someone you'd love to give these cookies to?


Oh how they make me giggle!

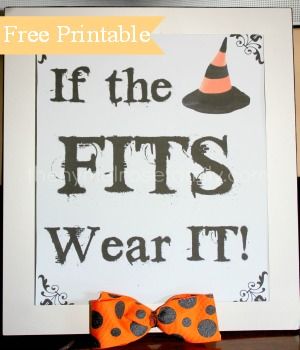
These are inspired by a free printable 
(by now y'all know how I love printables!)
by Jenny at The NY Melrose Family


Wouldn't this be such a cute hostess gift!  
You could print it out, pop it in a frame, and add some cute witch hat cookies!

Wanna make some of your own?


Bake some hat shapes using your favorite sugar cookie dough.

You can find the recipe I use HERE

You'll also need piping and flood icing in black and at least one accent color,
I used orange, purple and electric green.
If you'd like your hats to sparkle, you'll want either clear or matching sanding sugar.


The cutter I used is from a wilton set...here's a link:


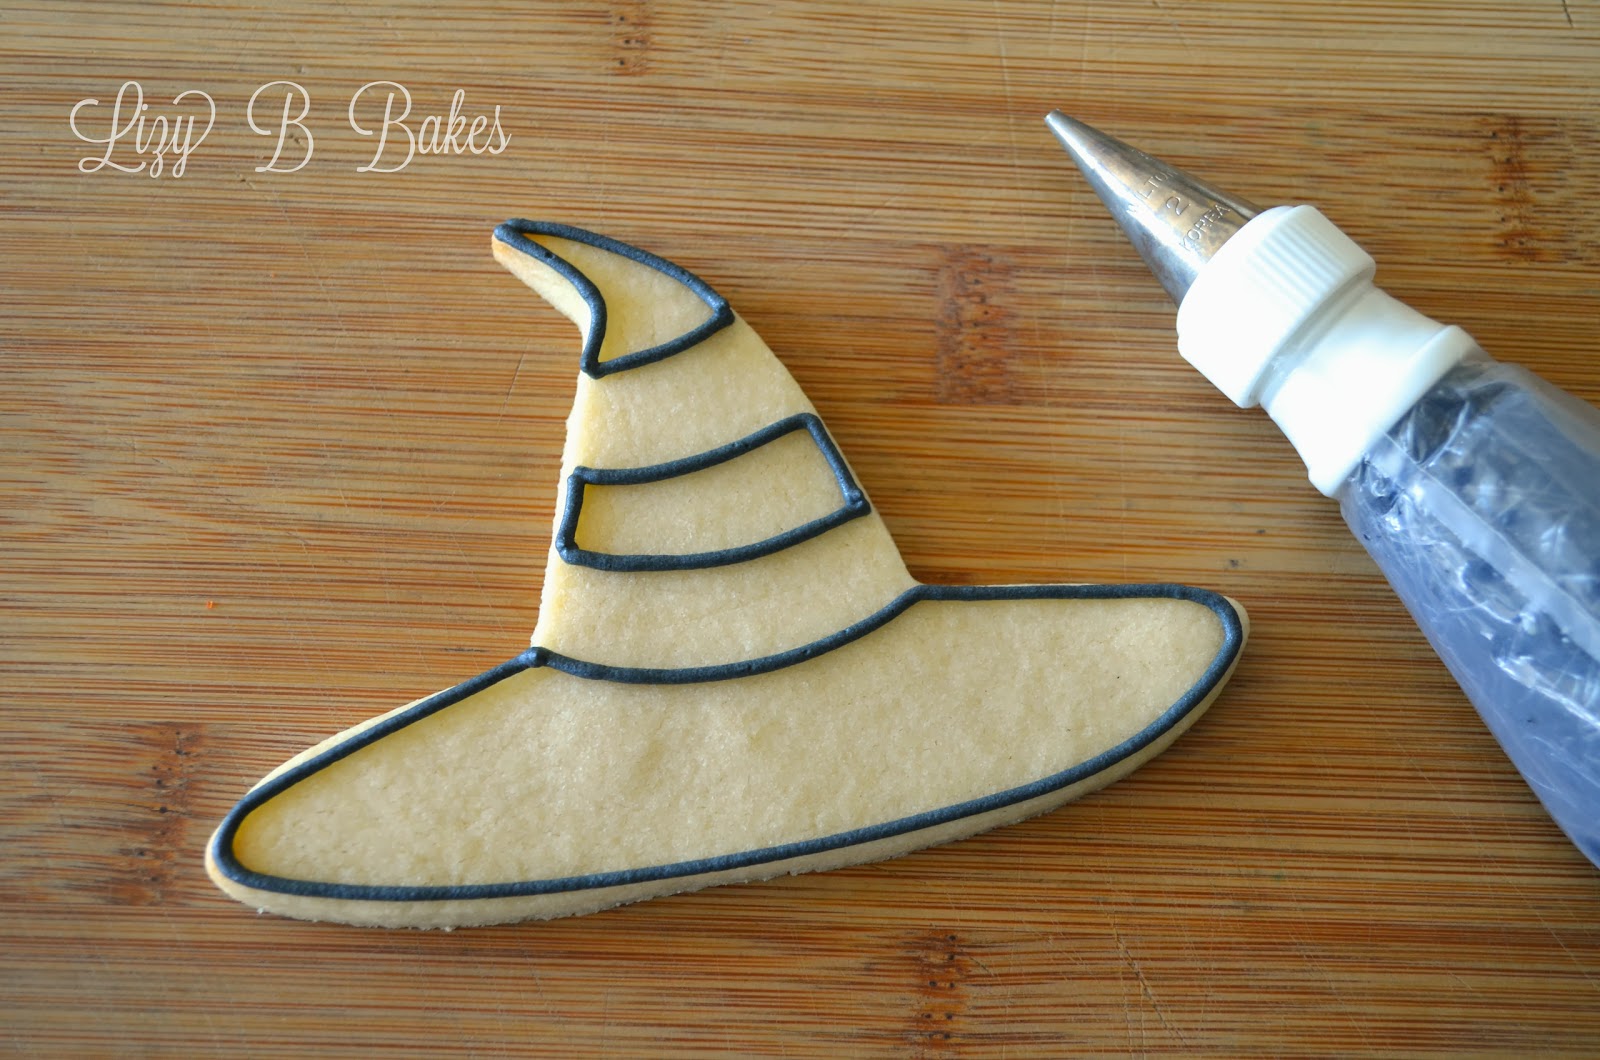
With your black piping icing in a pastry bag fitted with a number 2 tip,
outline the brim and black stripes of your hat.

Make sure to curve the lines where the cone of your hat would meet the brim, and on your stripes.
That will make it look nice and round!


Fill in with black flood icing and let dry completely.


Then, with your accent color in a piping bag fitted with a number 2 tip,
connect the edges of the stripes.....


and fill them in with flood icing!

Now, you can leave them like this, or you can add sanding sugar and make them sparkle.
(If you add the sugar, make sure the black is really dry!)


While the flood icing is still wet, sprinkle on your sanding sugar.


Be sure to cover all the wet spots!


Just dump off the extra.

That's it!


Super cute with sparkles or without!


An easy hostess gift for Halloween!


Just make sure your hostess has a great sense of humor....


You can find more great Halloween printables HERE!

And even more great Halloween ideas on my Pinterest Board!


Thanks for stopping by! Lizy B
Pin It

Thursday, October 17, 2013

"Bugs & Kisses" Halloween Cookies!


I've been waiting to turn these fabulous printables into cookies since I saw them last year.


Tammy from Pink Peppermint Prints designed them and has them available to download for free!


Tammy is one of my favorite graphic designers and party stylists.  
Her designs are always gorgeous.
(plus she's lovely in person too!)

If you get a chance, pop over to her site and browse through some of her parties.

AH-mazing!


You can probably guess that these were my boys' favorite Halloween cookies this year.


Creepy and disgusting always goes over well with them.


In fact, it took them a couple of days to even notice the 'kisses' part.


For days they would sneak into the kitchen, grab a bug cookie, 
stuff it in their mouths and sing...


"I ate a bug and I liked it!"

They crack themselves up.


They don't know it yet, but I saved a few to slip into their lunch boxes on Halloween.


(heh-heh-heh)


The lunch ladies are going to hate me.


click HERE for more Halloween printables!


Thanks for stopping by! Lizy B
Pin It

Tuesday, October 8, 2013

Label Cookie Tutorial for Sugarbelle!


Sugarbelle, Miss Callye, has been one of my cookie idols since my icing adventure began.

She's also as friendly and gracious in person as she seems in her blog,
a sweet southern lady through and through.

I'm thrilled
 (seriously folks....like jumping up and down and doing a little dance)
to be guest posting over on her blog today!!!


But...do you have any idea how stressful it is to choose a guest post for Miss Sugarbelle!

Oh my word.
She's the Queen of Tutorials.
Don't even get me started on her color mixing chart!
That has saved me many, many days.

I agonized over what to send her and finally settled on this tutorial.
I made these antiqued Halloween labels last year and they've always been some of my favorites.

And then....

I realized....

I sent her POISON!!!!!!

POISON!!!!


ugh.

Well, head over to The Sweet Adventures of Sugarbelle 
for the full tutorial on how to make your cookies look old and antiqued.

Click Here for Tutorial

I would suggest, however, if you are making cookies 
for your mother-in-law or your son's teacher....
maybe don't make one that says POISON.

(Oh my goodness)


Thanks for stopping by! Lizy B
Pin It

Thursday, October 3, 2013

Easy Pumpkin Cookie Tutorial!


Let's make some pumpkin cookies!!!


After I posted the  mustache jack o'lantern cookies I had a lot of questions!

Most of them asked how I made the segments on these pumpkins.

So I made a little tutorial for you!


For these cookies I used 2 consistencies of icing: 

1. Piping icing, which is somewhat like toothpaste, stiff but stretchy 
2. 10-second flood icing.

Flood icing is regular royal icing that has water added to thin it out.
When you cut through your bowl of icing with a knife or spatula, 
the line you make will eventually disappear.
However many seconds it takes for that line to fade completely, 
is how many 'seconds' your icing is called.

Here we go!


Using piping icing and a number 2 tip, outline your cookie.


Then draw curved lines dividing your pumpkin into 5 sections.

Make sure your dividing lines touch your outline where they start and stop.


Fill alternating sections with flood icing.


Poke any big air bubbles with a toothpick and set aside to dry for a bit.

(Y'know...long enough to fold some laundry...watch a little tv....eat a huge piece of cake and take a nap...whatever floats your boat)


When the first bit has dried, fill in the rest!


Fill these enough to cover your line that divides your sections.


So...that's it really!
You could stop there and move on to the stem....or....


You can make them SPARKLY!!

If you choose to add sparkles,
let your first sections dry a bit longer-I wait a few hours.

You'll need to be able to pick up your cookie and handle it without crushing your icing.


I used orange sanding sugar, but white would be pretty too.

Place your cookie on a paper plate or paper towel.  You'll want 
something to catch the extra sugar and help get it back into your bowl when you're done.


Fill your empty sections with icing and wait about a minute or so.


Grab a spoon, fill it with sugar, and sprinkle over the wet icing.


Or....dump it on, pour it on....whatever.


Just cover all the wet parts.


Carefully pick up your cookie and let the extra sugar fall onto the plate.


Sparkles!!!


Now we just need a stem!

Pipe the outline with a number 2 and fill with flood icing.
Use whatever color you'd like....black, brown, green...


Leaves are made with piping icing and a number 68 leaf tip.


For large pumpkins like these I like 3 leaves.


First one side,


Then the other.


Middle leaf last so that it lies on top.

Let 'em dry 8 hours or overnight.


That's it!!!!


You can do it!

I know you can!


You don't have to stick with orange either....


It's Halloween!

Go Crazy!!


Here are some other pumpkin and fall tutorials to have fun with!!


Thanks for stopping by! Lizy B
Pin It
Related Posts Plugin for WordPress, Blogger...