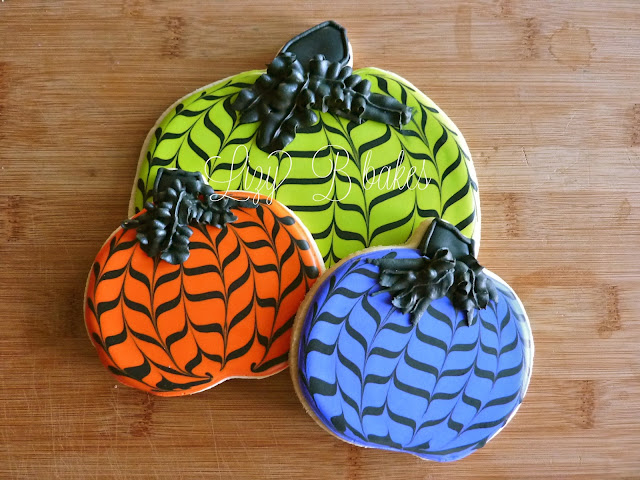
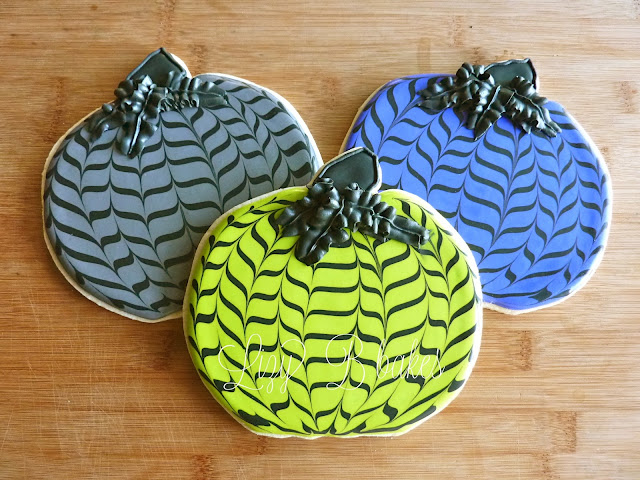
So, it looks a bit different around here on the blog today....hmmmm
(I can't wait to tell you all about the process,
but that will have to wait until next time.)
I promised you a Tutorial!
These chevron pumpkins are one of my favorite Halloween cookies to make.
The only trick is that you need to move quickly!
But that also means they are done in a snap.
Because of that, I'd suggest you start with a cookie 3 or 4 inches across.
(the grey and purple pumpkins are about 4 1/2 inches)
That way, you can get it flooded quickly
and move onto the next step before the icing begins to set.
That lime green cookie is a monsterous 7 1/2 inches.
Easily feeds a couple of munchkins,
also makes a hysterical picture since it covers their entire face!
Here we go!!!
I used:
Pumpkin shaped sugar cookies
Orange, ivory, black and purple piping icing in decorating bags with a number 3 tip
Orange, ivory, black and purple icing in squeeze bottles
Lots of toothpicks
Damp paper towel (not shown)
Leaf shaped decorating tip
Begin by outlining you cookie with the same color icing
that you will use to flood your pumpkin.
Outline the stem with black piping icing.
Make sure the black outline touches the pumpkin outline.
Fill in your pumpkin with the matching color flood icing,
making sure your icing reaches your outline all the way around.
Pop any obvious air bubbles with a toothpick, but don't take too long!
Quickly pipe stripes with your black flood icing.
It will sink into your base color and create a flat surface.
Curve your lines a little bit, like tiny smiles,
to give your pumpkin some dimension.
Grab a toothpick!!!!!
Starting at the top of the pumpkin, somewhere near the middle,
drag your toothpick through the stripes all the way to the bottom without picking it up.
Make your line curve outward just a bit....
y'know, like the section of a pumpkin!
Don't stop to admire your work....keep going....don't let it dry!!!
Now start at the bottom and pull your toothpick up to the top.
(Don't forget to curve your line out the opposite direction!)
Now just keep going!
Alternate the direction of your stripes, continuing to the outside edge.
If you look really closely at the ivory icing my toothpick just swept through,
you'll see little wrinkles.
That's what happens when the flood icing begins to set
before you finish dragging your stripes.
(oops)
One other really important tip!!!
Wipe off your toothpick between stripes!!!!
See that icky looking paper towel up there?
For these stripes you definitely want a 'clean' stop and start.
If you leave icing on your toothpick,
you'll have a dot of color above the beginning 'V' of each stripe.
On second thought....try it both ways.
Experiment a little, see which one you like best.
(Then you get to eat the other one!)
Fill in your stem with black flood icing and let the whole cookie dry!
That's it!!!
That wasn't so hard, was it?!
If you'd like to add an extra touch,
change to a leaf tip on your black piping icing
and pipe some big swoopy leaves on your pumpkins.
I hope you try these.
I'd love to see some pics if you do!!!
There's lots going on at the blog this week.
I'll have the story of the makeover
and
another giveaway from


